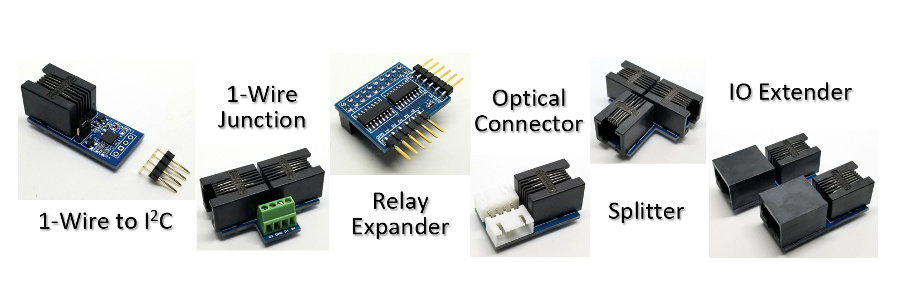
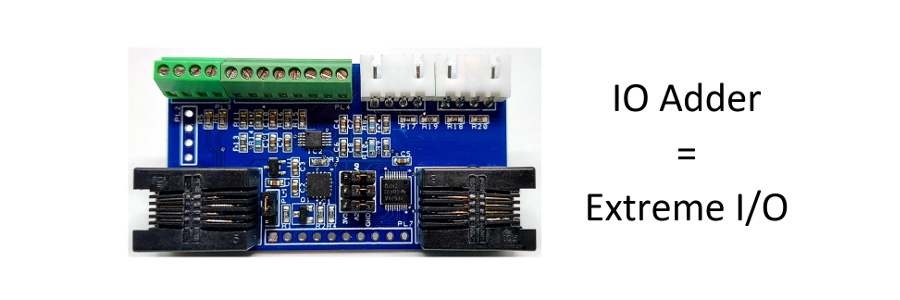
Zeven Development
 This is an image title
 This is an image title
 This is an image title
 This is an image title
 This is an image title
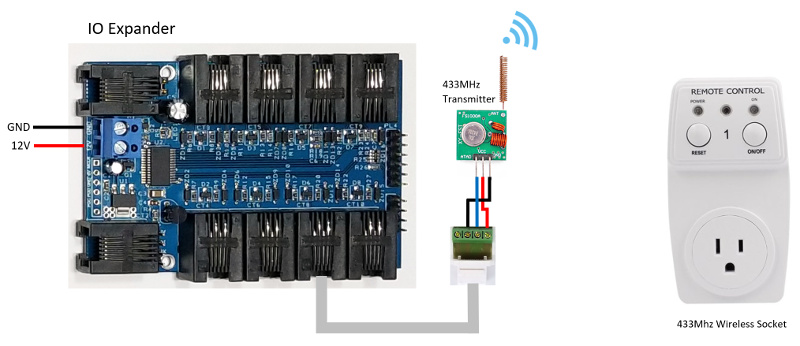
Hacking a 433MHz RF Power Socket
Use a 433MHz transmitter with the IO Expander and control wireless power sockets
Need to control a remote wireless power socket? Use a cheap off the shelf 433Mhz transmitter, and digitally duplicate the remote control. But first you will have to hack the transmitter to find the On/Off codes. Make sure that the wireless socket you select has a separate on/off button, and yes every manufacturer uses a different code!

Wiring Diagram
Hack 433MHz Power Socket Parts
| Qty | Part | Description | Cost |
|---|---|---|---|
| 1 |
 |
IO Expander. | $40.00 |
| 1 |
|
433MHz RF Wireless transmitter module and receiver kit. | $2.18 |
| 1 |
 |
24MHz 8 Channel USB Logic Analyzer. | $10.32 |
Open up one of the 433MHz wireless sockets and look for the RF receiver module and connect two wires to GND and DATA. Drill a hole in the housing that you can run the wires through and reassemble the socket.
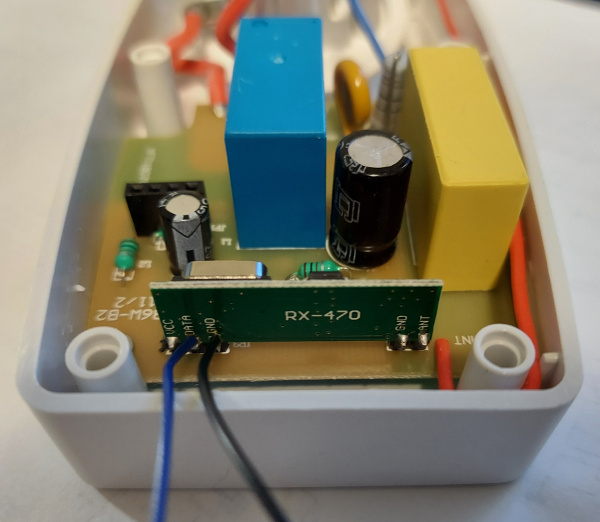
Plug in the socket and connect the logic analyzer to GND and DATA wires. Setup a trigger for the DATA line and start the capture. Using the 433MHz remote turn on the socket.
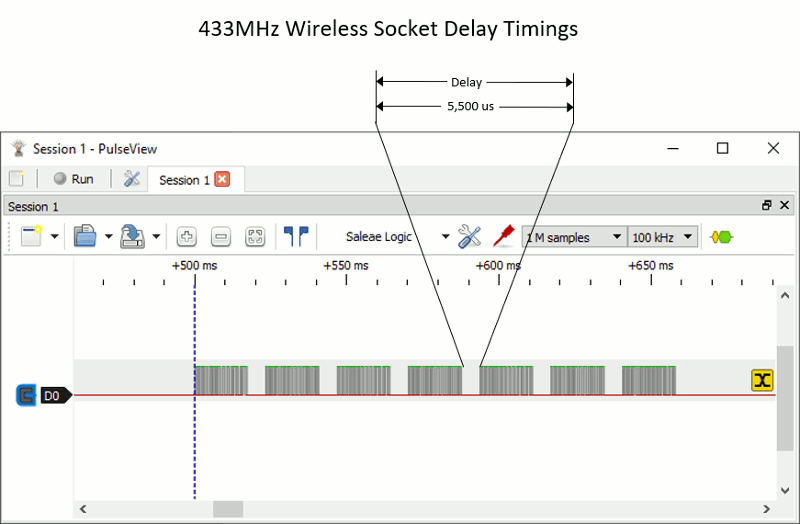
You should now have a captured waveform that looks like the following. This is the code sent multiple times to turn on the socket.
Zooming in on the first transmission we can see a distinct pattern of zero and one pulses. A zero pulse is a short high followed by a long low and a one pulse is a long high followed by a short low.
If we were to take all these pulses and write it out we would get 0000010000010101001100110. This is the binary representation of the first transmission. If we convert this binary (base 2) number to hexadecimal (base 16) we now have 0x82a66.
With this first capture we can now capture all the other on/off codes.
| Socket | Function | Binary | Hex |
|---|---|---|---|
| 1 | On | 0000010000010101001100110 | 0x82a66 |
| 1 | Off | 0000010000010101001111000 | 0x82a78 |
| 2 | On | 0000010000010101110000110 | 0x82b86 |
| 2 | Off | 0000010000010101110011000 | 0x82b98 |
| 3 | On | 0000010000010111000000110 | 0x82e06 |
| 3 | Off | 0000010000010111000011000 | 0x82e18 |
| 4 | On | 0000010000011101000000110 | 0x83a06 |
| 4 | Off | 0000010000011101000011000 | 0x83a18 |
| 5 | On | 0000010000110101000000110 | 0x86a06 |
| 5 | Off | 0000010000110101000011000 | 0x86a18 |
With all the codes and timings we are now ready to use the IO Expander and digitally control the remote sockets. Connect the transmitter as shown in the wiring diagram.
Let's select the RF [s]ensor on pin [12] and [t]ype [17] for an RF output.
>s12t17
RF
>
Next let's check the [s]ensor [c]onfig timings.
>sc
7
25
5500
190
530
550
170
>
Here's the breakdown of the sensor config timings.
| Config | Description |
|---|---|
| 7 | # of Transmissions |
| 25 | # of Bits/Transmission |
| 5500 | us Delay Between Transmissions |
| 190 | us Zero High |
| 530 | us Zero Low |
| 550 | us One High |
| 170 | us One Low |
Finally let's turn on the first socket.
>w82a66
ok
>